Install Modsecurity WAF for Nginx
I’ve been in IT security field for almost 7 years. Most of Web Application Firewall that I’ve installed comes from closed-source, commercial solution: F5 Advanced Web Application Firewall, Imperva Web Application Firewall, and FortiWeb Web Application Firewall from Fortinet. But for us the peasant, surely all of the solution above is beyond our paycheck, so WAF for our web application is a luxury.
But no worries, Ivan Ristić developed a module that initially, the goal is to monitor application traffic for Apache HTTP Server. But along the way, the development expands to WAF and supports for other platforms as well.
Installation
Our installation is split to two: the installation of the module itself, and the installation of ruleset for WAF provided by OWASP.
ModSecurity Install
First, make sure the Nginx is installed via nginx packages or sources. At the time this post is written, the current Nginx mainline version is 1.21.6, and for you, take note of your Nginx version.
Before compiling ModSecurity, install the dependency required for compiling.
$ apt install -y apt-utils autoconf automake \
    build-essential git libcurl4-openssl-dev \
    libgeoip-dev liblmdb-dev libpcre++-dev \
    libtool libxml2-dev libyajl-dev pkgconf \
    wget zlib1g-dev
Clone the version 3 ModSecurity repository.
$ git clone --depth 1 \
            -b v3/master \
            --single-branch https://github.com/SpiderLabs/ModSecurity
Change to ModSecurity directory and compile the source code.
$ cd ModSecurity
$ git submodule init
$ git submodule update
$ ./build.sh
$ ./configure
$ make
$ make install
$ cd ..
Compile the ModSecurity connector for NGINX as a dynamic module for NGINX.
$ git clone --depth 1 https://github.com/SpiderLabs/ModSecurity-nginx.git
$ wget 'http://nginx.org/download/nginx-1.21.6.tar.gz' # Your Nginx version
$ tar zxvf nginx-1.21.6.tar.gz
$ cd nginx-1.21.6/
$ ./configure --with-compat --add-dynamic-module=../ModSecurity-nginx
$ make modules
$ # Copy the compiled module to Nginx module
$ cp objs/ngx_http_modsecurity_module.so /etc/nginx/modules
$ cd ..
After the recompilation successful, load the module to Nginx with load_module directive.
$ vi /etc/nginx/nginx.conf

# add this line on top level context
# for me, it's directly under pid directive
load_module modules/ngx_http_modsecurity_module.so;
Module is loaded, but we don’t have the configuration file for the module yet, so create a ModSecurity config files using the recommended ModSecurity configuration provided by TrustWave Spiderlabs.
$ mkdir /etc/nginx/modsec
$ cd /etc/nginx/modsec
$ wget 'https://raw.githubusercontent.com/SpiderLabs/ModSecurity/v3/master/modsecurity.conf-recommended'
$ mv modsecurity.conf-recommended modsecurity.conf
To ensure that ModSecurity can find the unicode.mapping file, copy it to /etc/nginx/modsec
$ cp ~/ModSecurity/unicode.mapping /etc/nginx/modsecBy default, ModSecurity configuration does not block any malicious traffic matched with the rules, so we need to enable it.
$ sed -i 's/SecRuleEngine DetectionOnly/SecRuleEngine On/' \
         /etc/nginx/modsec/modsecurity.conf
At this time we can safely say that the ModSecurity modules is successfully installed in our Nginx.
Add OWASP ModSecurity Core Rule Set
OWASP ModSecurity Core Rule Set (CRS) is a set of firewall rules, which can be loaded into ModSecurity or compatible web application firewalls. We use OWASP ModSecurity CRS to avoid writing rules for ourself since I, myself, for this time of writing, don’t have the ability to write my own rules. Of course, if you can write your own rules, you can safely skip this step.
At the time this post is written, the most current version for OWASP ModSecurity CRS is 3.3.2, so I’ll use this version.
$ cd /etc/nginx/modsec
$ wget 'https://github.com/coreruleset/coreruleset/archive/refs/tags/v3.3.2.tar.gz'
$ tar zxvf v3.3.2.tar.gz
$ rm zxvf v3.3.2.tar.gz
$ cd coreruleset-3.3.2
$ mv crs-setup.conf.example crs-setup.conf
$ cd ..
After we’re sure that the CRS is installed, load the rules to ModSecurity module.
$ echo 'Include /etc/nginx/modsec/coreruleset-3.3.2/crs-setup.conf' >> /etc/nginx/modsec/modsecurity.conf
$ echo 'Include /etc/nginx/modsec/coreruleset-3.3.2/rules/*.conf' >> /etc/nginx/modsec/modsecurity.conf
Test ModSecurity Installation
Phew, after all the blood, sweat, and tears installing the module, all of the effort would be worthless if we can’t test it. So, I’ve prepared the Damn Vulnerable Web Application installed on http://192.168.136.138/dvwa/. This instance will be proxied by our Nginx with ModSecurity module installed with hostname dvwa.192.168.136.140.nip.io. Notice that I use nip.io service to avoid changing my DNS server or Host files. So, I create a dvwa.conf file under /etc/nginx/conf.d/ directory with content below.
server {
listen 80;
server_name dvwa.192.168.136.140.nip.io;
location / {
proxy_pass http://192.168.136.138/;
}
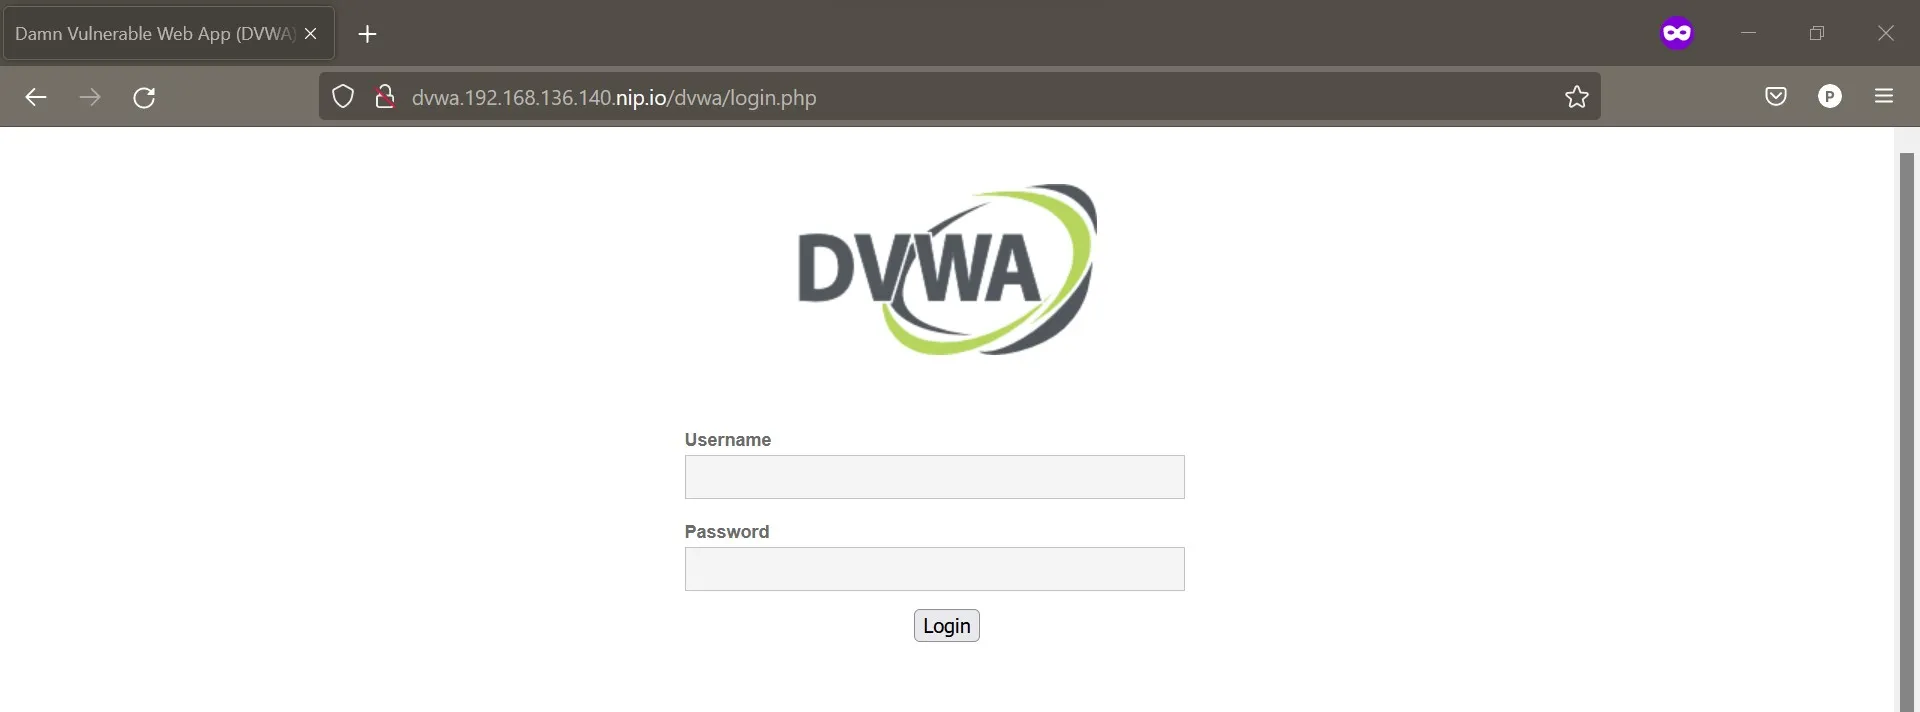
}Reload the Nginx with nginx -s reload, then try to access http://dvwa.192.168.136.140.nip.io/dvwa.
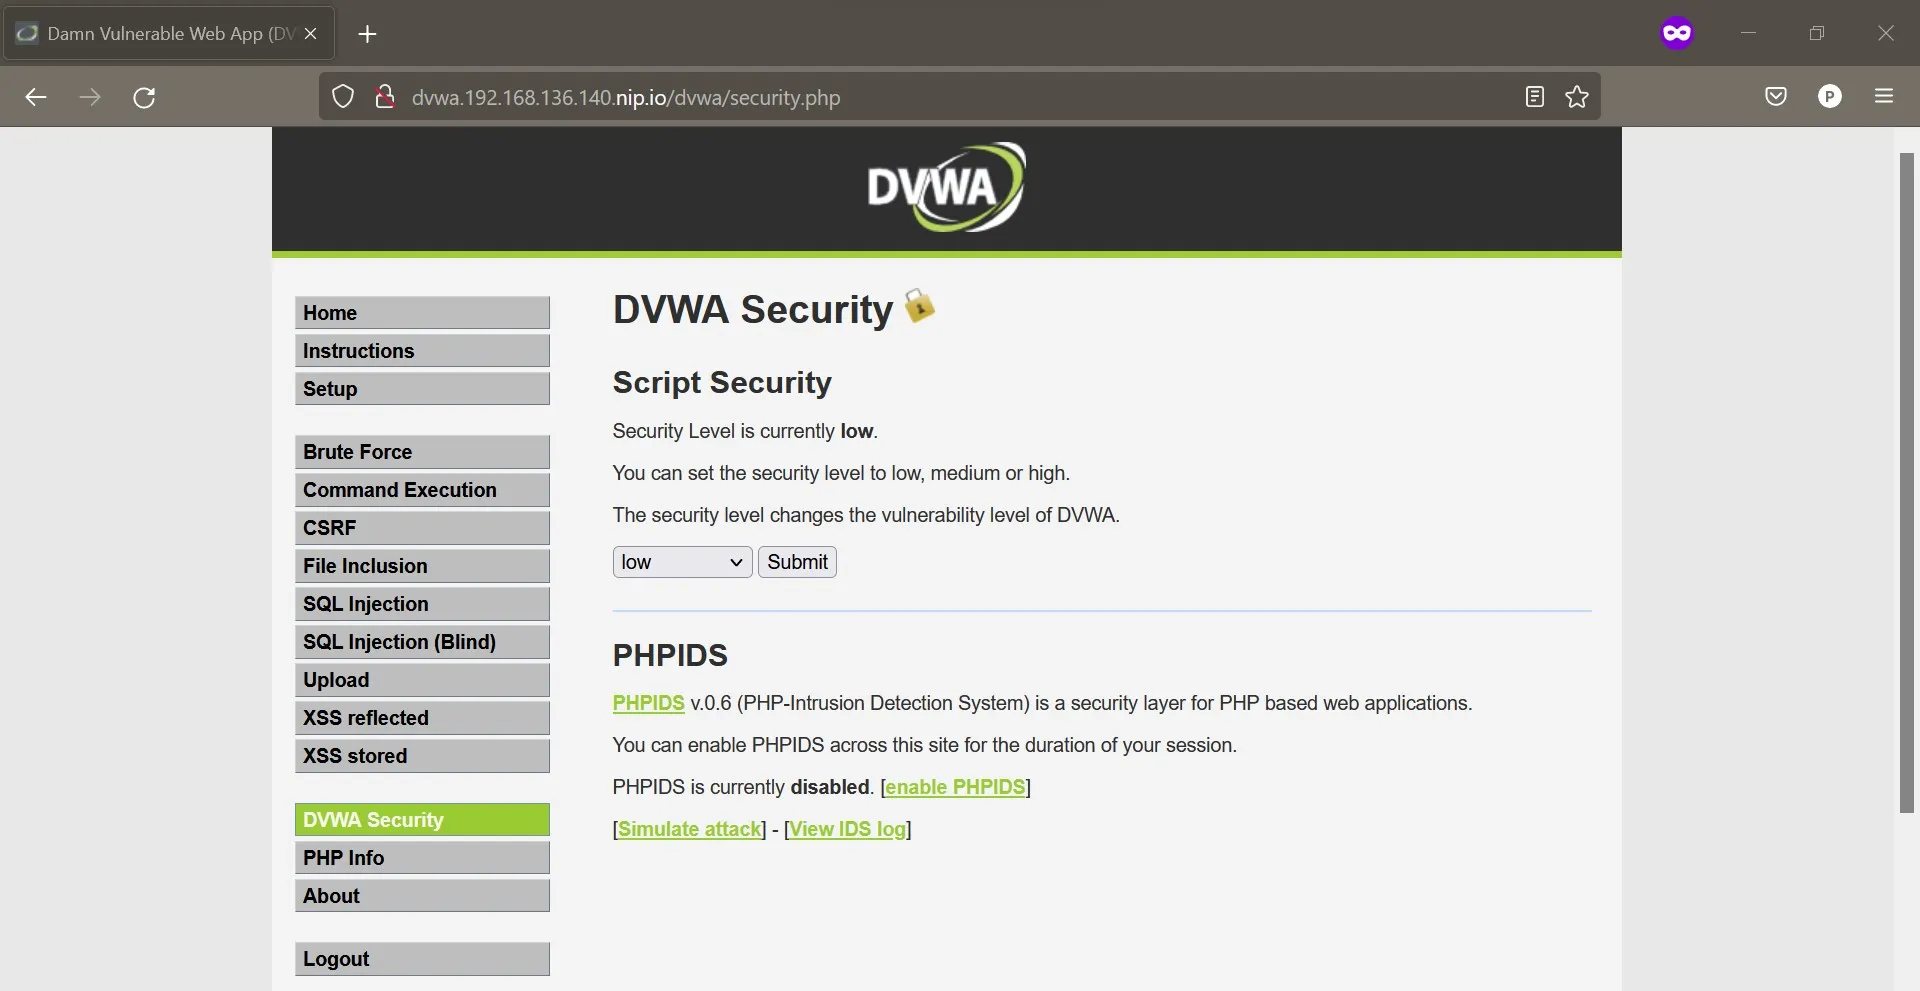
Whoop, we can access it via our Nginx instance, so that’s one thing. Try to login and change the DVWA Security to low.
Now it’s time to launch our attack. Try the easiest one (at least for me): SQL Injection. Go to SQL Injection and then type ' or 'zfed'='zfed on User ID column.
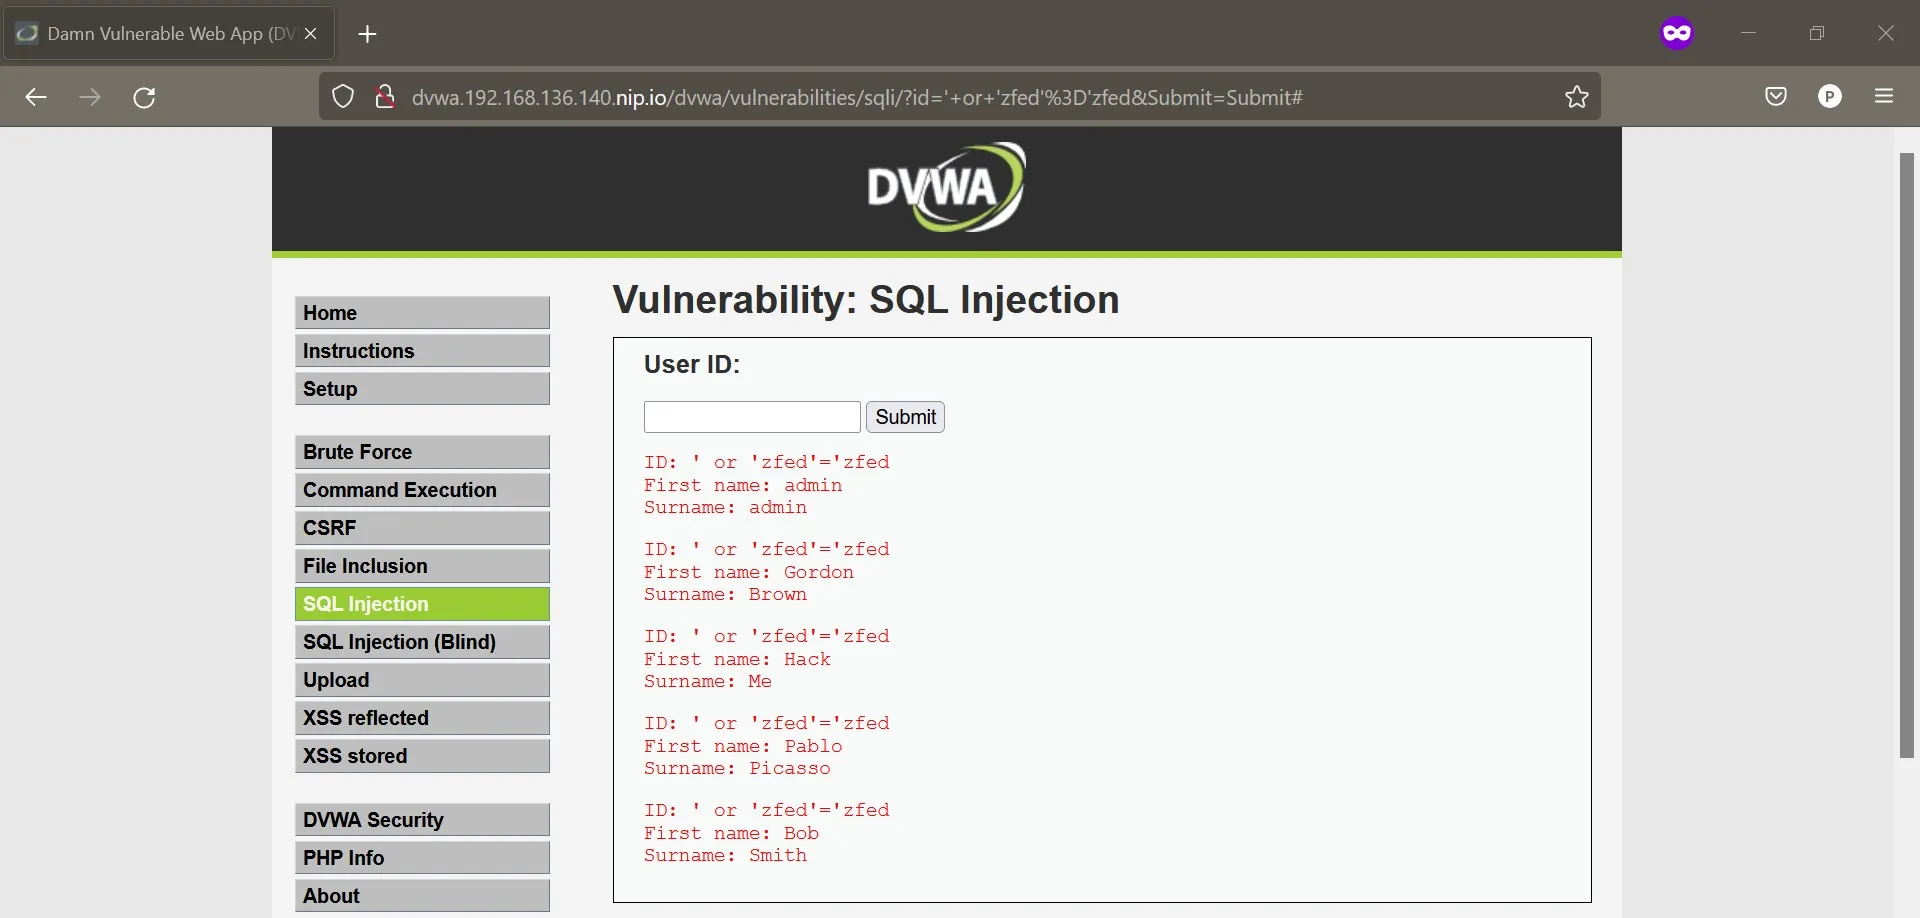
Our attack was successful, why? Because we haven’t enabled the ModSecurity module in server directive. Open /etc/nginx/conf.d/dvwa.conf and change the content to looks like this.
server {
    listen       80;
    server_name  dvwa.192.168.136.140.nip.io;

    # Enable ModSecurity module
    modsecurity on;
    # Use ModSecurity config
    modsecurity_rules_file /etc/nginx/modsec/modsecurity.conf;

    location / {
        proxy_pass http://192.168.136.138/;
    }
}
Reload the Nginx, then try to launch the attack again.

Whoa, it seems that our attack is successfully blocked by ModSecurity!
To check the logs, simply look at /var/log/nginx/error.log and notice the error message, it looks like this.
2022/04/01 05:17:38 [error] 26298#26298: *60 [client 192.168.136.1] ModSecurity: Access denied with code 403 (phase 2). Matched "Operator `Ge' with parameter `5' against variable `TX:ANOMALY_SCORE' (Value: `5' ) [file "/etc/nginx/modsec/coreruleset-3.3.2/rules/REQUEST-949-BLOCKING-EVALUATION.conf"] [line "80"] [id "949110"] [rev ""] [msg "Inbound Anomaly Score Exceeded (Total Score: 5)"] [data ""] [severity "2"] [ver "OWASP_CRS/3.3.2"] [maturity "0"] [accuracy "0"] [tag "application-multi"] [tag "language-multi"] [tag "platform-multi"] [tag "attack-generic"] [hostname "192.168.136.140"] [uri "/dvwa/vulnerabilities/sqli/"] [unique_id "1649135858"] [ref ""], client: 192.168.136.1, server: dvwa.192.168.136.140.nip.io, request: "GET /dvwa/vulnerabilities/sqli/?id=%27+or+%27zfed%27%3D%27zfed&Submit=Submit HTTP/1.1", host: "dvwa.192.168.136.140.nip.io", referrer: "http://dvwa.192.168.136.140.nip.io/dvwa/vulnerabilities/sqli/"Conclusion
It’s not simple to enable WAF for our Nginx instance, but the process is rewarding for me, and I can’t thank enough for the Open Source Community to provide such amazing product for free.
Until next time then, and if you have any question do not hesitate to contact me via email or Twitter.